 EVERY ORDER SUPPORTS FAMILIES IN NEED



Updated 0 comments
Dental carbide burs are rotary cutting instruments with a tungsten carbide head. Their blades cut rather than grind, which is why dentists and dental technicians use them to prepare cavities, remove old restorations, section crowns, cut bone and trim metal or acrylic. Used correctly, cleaned properly and sterilized between patients, they cut cleanly and last longer. Too much pressure or speed generates heat and can make a bur fail.
This guide covers what carbide burs are used for, how to use them safely, how to clean and sterilize them, and when to replace them. Where research exists, we link to it in the references at the end.
The short version
- Never run a bur above the maximum speed on its label. Use light pressure and keep the bur moving.
- Use water coolant when cutting tooth structure.
- Clean first, then steam-sterilize before first use and between patients. Sterilization does not work on a dirty bur.
- Do not use dull, corroded or damaged burs.
In this guide
What are dental carbide burs?
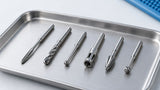
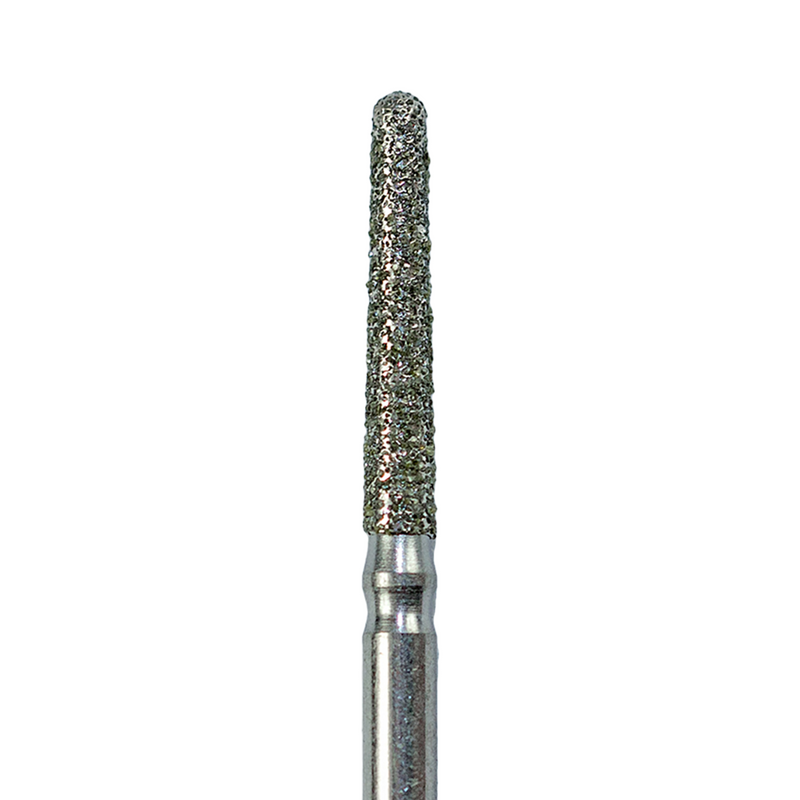
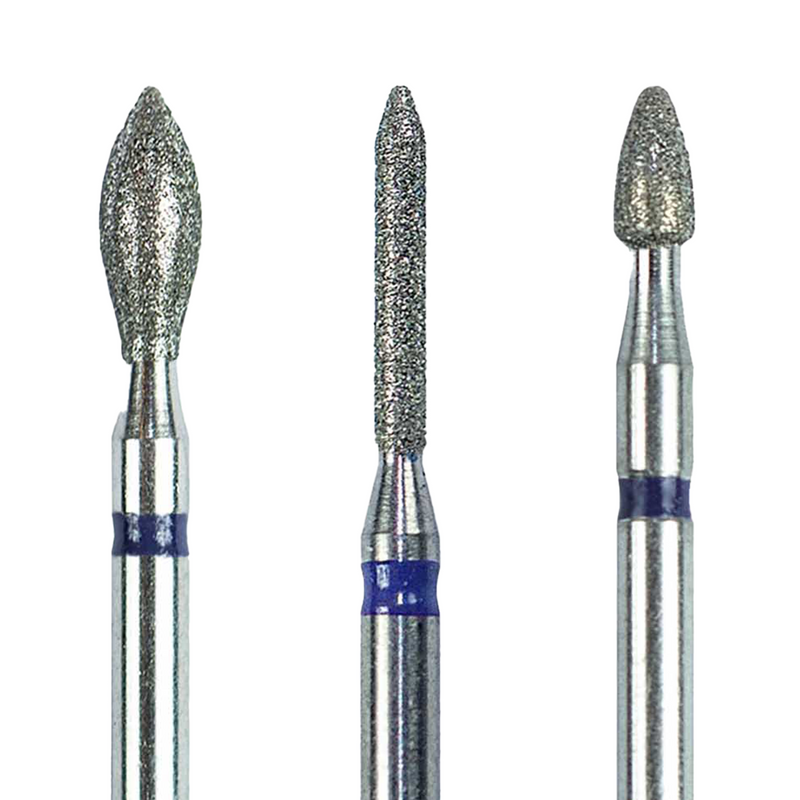
A carbide bur has three parts: the shank, which is held in the handpiece; the neck; and the head, which carries the cutting blades (also called flutes). The head is made of tungsten carbide, a super-hard compound that is much harder than steel.
The shank decides which handpiece the bur fits. FG (friction grip) burs go in high-speed handpieces, while RA (latch type) and HP (straight handpiece) burs go in slow-speed handpieces. Head shape, head size and blade count decide what the bur does. As a rule, 6–8 blades cut and 12–20 blades finish. Our guide to bur shapes, shanks and grits explains these in detail.
Carbide burs come in clinical versions used chairside and laboratory versions used by dental technicians. Both are reusable unless the label says single use, and both are sold sterile or non-sterile. If you are choosing between carbide and diamond, see our diamond vs carbide comparison.

Dental carbide bur applications: what are they used for?
Tungsten carbide burs are used wherever a clean, controlled cut is needed. They leave a smoother surface than diamond burs on dentin, amalgam and composite. The main dental applications are:
| Use | Typical bur | Notes |
|---|---|---|
| Cavity preparation and caries removal | Round, pear (245), inverted cone and fissure burs | Use water coolant when cutting tooth structure. |
| Removing old fillings and sectioning crowns | Metal & crown cutting burs and ultra cutters | Cuts amalgam and metal crowns. |
| Finishing composite and amalgam margins | Multi-blade finishing burs, such as 12-blade tapered and bullet flame | 12–20 blades give a smoother finish. |
| Oral surgery and bone removal | Lindemann bone cutting burs and other surgical burs | Cuts bone. |
| Orthodontic adhesive removal | Round end taper, 12 blades and other orthodontic burs | Removes residual adhesive after bracket removal. |
| Laboratory work | Carbide metal cutters (HP) and other laboratory burs | Cuts metals and trims acrylic and plaster. |
In the shop: all carbide burs · round carbide burs FG/RA · round carbide burs RA · cross cut fissure burs · 12-blade tapered finishing burs · metal & crown cutters · Lindemann bone cutting burs · carbide metal cutters HP
How to use carbide burs safely
Before you start
- Read the package label and the instructions for use (IFU) supplied with the burs.
- Match the shank to your handpiece, and use handpieces in good working condition.
- Make sure the bur is fully seated and securely gripped in the handpiece. Do not force it in. If it does not seat, check both the bur and the handpiece.
- Do not use worn-out or dull burs.
- Wear gloves, eye protection and a surgical mask, and use a rubber dam to prevent aspiration or swallowing.
Match the shank: high speed (FG) burs · slow speed (RA) burs · dental handpieces
Speed
Every bur has a maximum recommended speed (RPM). Check the packaging or consult the manufacturer, and never exceed it. Running a bur too fast generates unwanted heat and can cause it to fail.
Pressure and movement
- Do not apply excessive pressure. It creates heat and can make the bur fail.
- Keep the bur moving continuously to avoid heating or damage.
- Avoid removing the bur at too sharp an angle. It creates leverage and can break the bur.
Cooling
Heat is the main risk when cutting tooth structure. In an in vitro study on 120 extracted premolars, cavity preparation with a high-speed handpiece and no water cooling raised the temperature inside the pulp chamber by 7.1 to 19.7°C, above the 5.5°C rise the authors used as the critical value for pulpal health. A low water flow (15 mL/min) combined with high air pressure and high load still reached 5.9°C. With high water cooling (40 mL/min), the critical value was not reached in any group.[2]
A more recent in vitro study on extracted molars compared pear-shaped tungsten carbide burs with and without water coolant in a high-speed handpiece. When cutting tooth structure, water coolant lowered the temperature change (0.03°C with water, 1.27°C without). When removing amalgam or composite, water coolant made no significant difference with carbide burs.[3] Both figures are small in that model, but the result shows that coolant makes a measurable difference when cutting tooth structure.
The practical rule: use water coolant when cutting tooth structure, and keep pressure light.
How to clean carbide burs
Non-sterile carbide burs are mechanically cleaned, but they are not sterile. Clean them thoroughly and steam-sterilize them before first use and between patients. Studies have found microbial contamination on newly purchased burs, and new burs should be cleaned and sterilized unless the manufacturer states they are sterile.[7] Sterile-packed burs need cleaning only after their first use. If a sterile pack is opened or damaged, treat the burs as non-sterile.

Which cleaning method works best?
Cleaning and sterilization are two separate steps of equal importance, and debris left on a bur can compromise sterilization. In Public Health Ontario’s review of 16 experimental studies, washer-disinfectors were the most effective way to clean dental burs, followed by ultrasonic cleaners. Manual scrubbing was the least effective and most inconsistent method.[7]
A bur that looks clean may not be. In a study of 1,304 dental instruments from 30 practices, visual scoring did not correlate with the amount of residual protein.[8] Ultrasonic cleaning also has a cost: an older laboratory study using 10-minute cycles in two ultrasonic units found significant pitting on new carbide burs, and neither unit fully removed blood and debris.[9] Follow the manufacturer’s time and inspect the burs afterwards.
Cleaning solutions: what to avoid
- Do not use cleaners with chlorine or chloride as the active ingredient. They are corrosive to stainless steel. Use neutral pH agents.
- Do not use cold chemical sterilization. Strong oxidizing chemicals can dull or weaken carbide burs, and in one laboratory study carbide burs sterilized in glutaraldehyde lost the most cutting capacity.[5]
- Avoid prolonged storage in disinfectant solutions, which can degrade the product.
How to clean carbide burs manually
Hand cleaning is the least recommended option. If it is the only one available, do it in a sink reserved for cleaning instruments.
- Rinse the burs under cool running water for at least one minute.
- Prepare a fresh neutral-pH cleaning solution and follow the manufacturer’s instructions.
- Immerse the burs and soak for at least ten minutes.
- While they are immersed, brush thoroughly away from your body for at least one minute. Do not spray or splash.
- Use wire brushes with caution. Brass particles can cause galvanic corrosion, and steel particles can discolor stainless steel.
- Pay special attention to crevices and hard-to-reach areas.
- Visually inspect to confirm the debris is gone, and repeat the cycle if needed.
- Rinse the burs and bur blocks under running warm water for at least one minute, until visibly clean.
- Dry with clean compressed air or a non-shedding wipe.
How to clean carbide burs in an ultrasonic bath
- Prepare a fresh neutral-pH cleaning solution.
- Place the burs in the sonication unit, fully submerged.
- Follow the agent manufacturer’s instructions for concentration, exposure time, temperature and water quality.
- Sonicate for at least fifteen minutes.
- Rinse under running warm tap water for at least one minute.
- Inspect, and repeat the cycle if debris remains.
- Dry with clean compressed air or a non-shedding wipe.
How to inspect carbide burs after cleaning
Inspect each bur carefully to confirm all debris has been removed and the bur is undamaged. Do not use a bur if:
- the tip is broken,
- a section of a blade is broken, or
- there is any evidence of corrosion.
Dental bur sterilization: how to sterilize carbide burs
Dental bur sterilization always follows cleaning. Dental burs are classed as critical instruments, so the required level of reprocessing is cleaning followed by sterilization. In the studies Public Health Ontario reviewed, steam sterilization in an autoclave was the most effective method.[7] The CDC’s infection control guidelines for dental settings likewise say heat-tolerant instruments should be cleaned and heat-sterilized between patients.[1] For Eagle carbide burs, use steam sterilization with at least these parameters:
| Cycle type | Minimum temperature | Minimum exposure | Minimum dry time |
|---|---|---|---|
| Gravity | 135°C (275°F) | 10 minutes | 30 minutes |
| Pre-vacuum (4 pulses) | 134°C (273°F) | 3 minutes | 30 minutes |
These are minimums. Always check the IFU supplied with your burs and your sterilizer manufacturer’s instructions, and do not exceed the sterilizer’s maximum load.
Under the Canadian CSA standard, as summarized by Public Health Ontario, dynamic air removal (pre-vacuum) steam sterilization is preferred over gravity displacement.[7]
- Dry time matters. If the burs are not dry at the end of the cycle, the moisture can lead to corrosion.
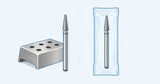
- Bur blocks are for storage and steam sterilization only. They are not intended to maintain the sterility of the burs.
- Dry heat: the CDC notes that dry heat is used for items that moist heat might damage, such as burs.[1] In one laboratory study, dry heat affected the cutting capacity of carbide burs least.[5] However, our instructions specify steam sterilization, and dry heat has not been validated for Eagle carbide burs, so do not use it with them.
- No cold sterilization. See the cleaning section above.
Does repeated sterilization dull carbide burs?
The evidence is mixed. In one study, experienced clinicians rated 330 carbide burs that had been autoclaved 0, 1, 2, 5 or 10 times, and found no significant effect on perceived initial sharpness or cutting effectiveness up to 10 cycles.[4] In a laboratory study using glass cutting tests, in which burs were sterilized after each of twelve cutting periods, autoclaved burs cut less than unsterilized controls, and the authors suggested corrosion as a possible explanation.[5]
Public Health Ontario’s review of eight laboratory studies (mostly on diamond burs) found that six reported a significant decrease in cutting efficiency after repeated cleaning and sterilization, and two reported no influence. It also notes that most studies combined repeated cutting with sterilization, which makes the effect of sterilization alone difficult to separate.[6] The practical takeaway is to dry burs fully, avoid corrosive cleaners, and judge each bur by how it performs.
When to replace a carbide bur
The studies above do not give one number of uses that fits every bur, because results depend on the bur, the material being cut and how the bur is reprocessed. Cutting effectiveness matters beyond speed: Public Health Ontario notes it is essential for working efficiently and for preventing thermal damage to dental tissues, particularly the pulp.[6] Do not use a bur that is:
- worn-out or dull,
- broken at the tip,
- missing a section of a blade, or
- showing any corrosion.

Restock in the shop: round carbide burs · cross cut fissure burs · 12-blade tapered burs · RA carbide burs introductory kit · all carbide burs. Using diamond burs too? See diamond bur lifespan.
Storage and handling
- Transport burs dry to protect them from staining or corrosion.
- Always wear gloves when handling contaminated burs.
Troubleshooting
| Problem | Likely cause | What to do |
|---|---|---|
| Overheating | No or low water coolant, heavy pressure, speed above the label limit | Use water coolant when cutting tooth structure, lighten the pressure, check the RPM against the label. |
| Bur will not seat | A problem with the bur or with the handpiece | Do not force it. Check both the bur and the handpiece. |
| Bur breaks | Excessive pressure, excess speed, or removing the bur at too sharp an angle | Lighten the pressure, respect the speed limit, and withdraw the bur in line with its axis. |
| Rust spots or staining | Chlorine or chloride cleaners, prolonged soaking in disinfectant, burs not fully dry after sterilization | Switch to neutral-pH cleaners, avoid long soaks, respect the minimum dry time, and do not use corroded burs. |
| Bur cuts slowly | Wear from repeated use and reprocessing | Replace the bur. |
Final notes
These instructions for use are meant to prolong bur life and keep burs effective. They are general and refer to dental carbide burs overall, so check the manufacturer’s specific instructions and your local infection control regulations. Carbide burs should be used only by dentists, dental technicians or other licensed professionals.
Ready to stock up? Browse all Eagle carbide burs, or go straight to round carbide burs, cross cut fissure burs, metal & crown cutters and Lindemann bone cutting burs. Free shipping over $250.
Keep reading: shapes, shanks and grits · diamond vs carbide burs · types of burs in dentistry.
Have a tip or a correction for this guide? Contact us.
References
- Kohn WG, Collins AS, Cleveland JL, Harte JA, Eklund KJ, Malvitz DM; Centers for Disease Control and Prevention. Guidelines for infection control in dental health-care settings — 2003. MMWR Recomm Rep. 2003;52(RR-17):1–61. PMID 14685139. CDC (PDF) · PubMed
- Öztürk B, Üşümez A, Öztürk AN, Ozer F. In vitro assessment of temperature change in the pulp chamber during cavity preparation. J Prosthet Dent. 2004;91(5):436–440. doi:10.1016/j.prosdent.2004.02.022. PMID 15153850. DOI · PubMed
- Mafrici C, Kingston M, Grice R, Abbott PV. The effect of water coolant and bur type on pulp temperature when removing tooth structure and restorative dental materials. Oper Dent. 2024;49(1):91–97. doi:10.2341/23-033-L. PMID 38057997. DOI · PubMed
- Spranley TJ, Cheramie TJ, Ireland EJ, Sergent RS, Yeadon WR, Desonier DP, Raymond WD, Hagen JL. Cutting effectiveness of carbide burs following multiple steam autoclaving cycles. Gen Dent. 2011;59(1):53–58. PMID 21613040. PubMed
- Fais LMG, Pinelli LAP, Adabo GL, Silva RHBT, Marcelo CC, Guaglianoni DG. Influence of microwave sterilization on the cutting capacity of carbide burs. J Appl Oral Sci. 2009;17(6):584–589. doi:10.1590/S1678-77572009000600009. PMID 20027431. DOI · Full text (PMC)
- Public Health Ontario. Evidence brief: effect of cleaning and sterilization processes on the cutting efficiency of dental burs. Toronto: King’s Printer for Ontario; December 2023. publichealthontario.ca (PDF)
- Public Health Ontario. Evidence brief: dental burs – cleaning and sterilization. Toronto: King’s Printer for Ontario; November 2023. publichealthontario.ca (PDF)
- Vassey M, Budge C, Poolman T, Jones P, Perrett D, Nayuni N, et al. A quantitative assessment of residual protein levels on dental instruments reprocessed by manual, ultrasonic and automated cleaning methods. Br Dent J. 2011;210(9):E14. doi:10.1038/sj.bdj.2011.144. PMID 21372833. Nature · PubMed
- Villaseñor A, Hill SD, Seale NS. Comparison of two ultrasonic cleaning units for deterioration of cutting edges and debris removal on dental burs. Pediatr Dent. PMID 1338932. PubMed


0 comments